Monday 29 September 2014

Martin and Darran play games, properly! Week 1.

After becoming increasingly disinterested in the path modern games are taking, myself and Darran Jones of Retro Gamer magazine decided to make a concious effort to play more games together from days gone by.
Our main interest in recent times lie with the golden 16 bit era. Darran has a growing Mega Drive collection containing some superb shooters and arcade games and I have a NTSC SNES collection with almost 100 CIB classics.

Our first game night accidentally consisted of a full playthrough of Akumajou Dracula on the Super Famicom, aka, Super Castlevania IV.


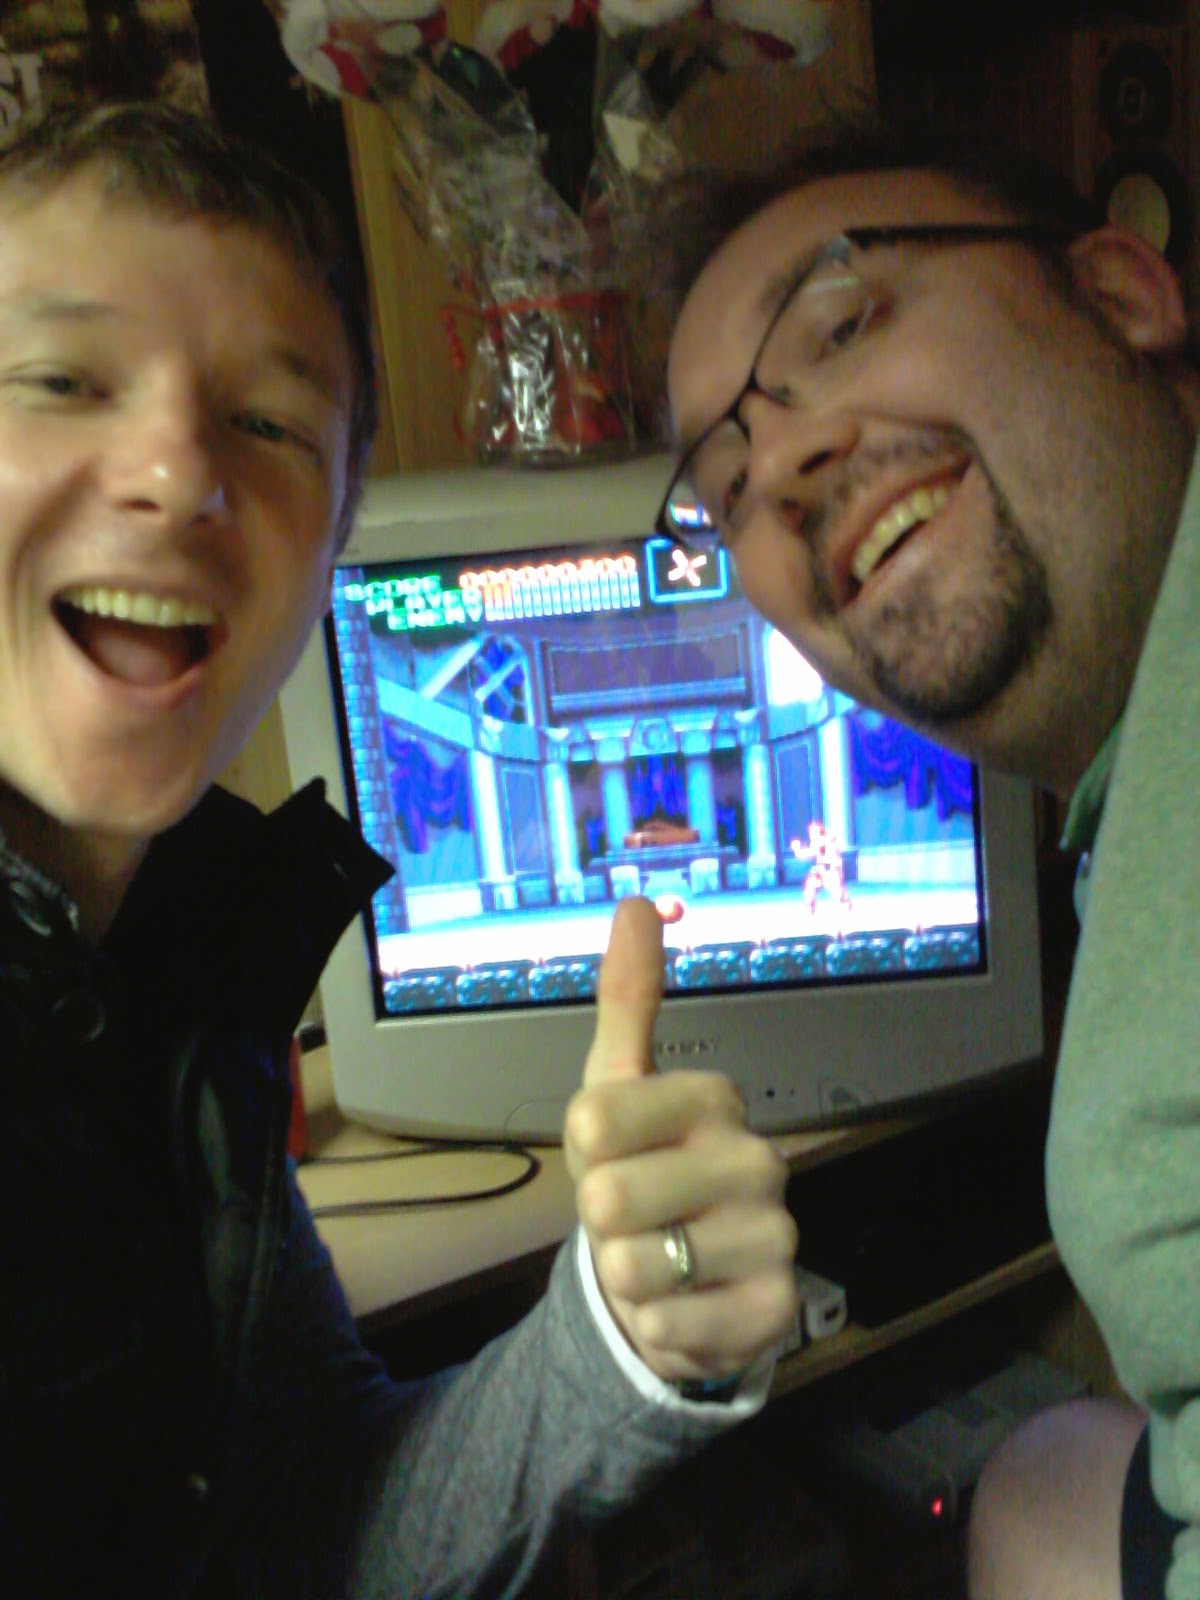
Originally, I took over a selection of action games for us to play together but I threw this on while Darran was thumbing through his latest bird pictures on his PC. It was only meant to be a quick go but a combination of the pin sharp image on the Sony CRT, and the immense soundtrack pumped through the Sony stereo I bought for Darran on his 40th birthday kept us hooked.


As many know, Super Castlevania is a classic so I wont bore you with the details and 'review' the game. However I will highlight the importance of having the right set-up to really enhance your gaming.
With a game like Super Castlevania IV, you are really missing out if you play it using only a TV for sound. The stereo takes the game onto another level as the soundtrack is perhaps one of the best of all time. It still sounds amazing, even today.
The sound designers used a huge range of sampled instruments and the depth of the soundtrack astounding, especially when you factor the machine only has 8 sound channels.
The bass is enhanced tenfold too, when hooked to a decent sound system, it really shakes the room on some levels.

The next component may not seem too obvious, playing with a friend, or in this case, a cousin, and enjoying a game together! Even with a game like this which isn't multiplayer, we still had a blast. As many gamers have gotten older, either time has become harder to come by or many have migrated to online gaming. However I urge people to arrange nights like this.


Once the game kicked off and the amazing atmosphere dragged us in , we played with the classic one life each system. I cannot remember the last time I played a game like that, many many years ago.
As the game progressed we delighted in the little details of the caverns in level 3. Marvelled at the incredible rotating room of level 4 and held our breath as we approached the castle at the end of the short but gripping level 5.


By the time we reached the midpoint of level 6, the swinging chandeliers, we were completely high on nostalgia and lost control of ourselves.


Ahem.


By this point, we realised we hadn't had as this much fun in a long time.
We started to find a pattern in our gaming abilities. Darran was clearly better at tackling bosses and I could negotiate the trickier platform sections, especially the vanishing platforms in the 8th level, the cellar.
Another handy aspect of playing alternatively is we could spot patterns and tactics when in tough situations, it really did help.

We ploughed on and managed to complete the game after about 3 hours play time. That Dracula fight remains an outstanding moment in gaming, truly cinematic despite only being 2D. Truly one of the best games of all time.


Stay tuned for more gaming including Thunderforce III, Pieces and Contra Spirits!


Friday 7 March 2014

ULTRA STICKER REMOVAL!!

Ultra Sticker Removal!!

Good afternoon people. I have been rather busy lately so haven't had time to blog but I thought I would share tactics on removing stickers from game boxes.

Many of us buy and collect computer or console games that are housed in cardboard boxes. Unfortunately, many of these boxes end up tarred with promotional or price stickers or even worse over the years. At times, these stickers are simply impossible to remove without causing damage to the box.

Or are they?

I will now take you step by step on how to remove even the most insane stickers from your games.

What you need. 
1 x iron.
2 x sheets of baking paper.
1 x horrendously disfigured videogame box.
1 x Ironing board.
1 x heavy weight.
Electricity.
Plenty of patience!

Here is the game in question. I think you will agree it's utterly horrific! Never seen anything like it!


This game is not only wrapped with several layers of hard to remove parcel tape, it also has a layer of sellotape underneath! I can only think it was a revenge taping from a ex friend or partner!


The Process. 

First step is to cut two pieces of baking paper to a size that is a decent amount larger than box to ensure you do not iron it directly.

Next up you need to turn on the iron and set it to maximum temperature. No water is needed.

Now the game needs to be placed inbetween the two sheets of baking paper, ensuring the oiled sides of the baking paper are in contact with the box to prevent sticking.


Once the iron is hot you need to then simply iron the game. Iron the box as it is placed between the sheets for no longer than 5-6 seconds. Lift back the backing paper and check the stickers in question. If there is not enough heat, iron for a further 5 seconds.
5 seconds does not sound long but you are applying immense heat to the box. It's better to use shorter bursts rather than cause any potential damage.


Do not be afraid when ironing the box. The baking paper will protect the box completely and provided you don't leave the iron there, no damage will be caused.

When enough heat has passed through the sticker, it will melt the glue that binds the sticker to the box. You can then gently start peeling. Small stickers should come off in one go but tougher stickers may require more heat.

Here you can see how easily the tape is coming off. Sellotape is probably the easiest thing to remove as it melts the fastest. Parcel tape takes a bit longer and stickers generally take the longest.


Here you can see just how much tape there is on the box.


Once the stickers have been removed there is a next important step. The box has been subjected to a lot of heat so if you do not take the right action, it will warp and lose shape.
So, once you have removed all stickers, the game must be placed under a heavy weight on a firm surface while it cools down. This will allow the box to completely flatten while cooling and retain form.
Also keep the box between the baking paper to avoid damage and make sure the heavy item has a completely flat underside to prevent gouging the box.
Ideally you would probably want something heavier than what I have shown here but this is simply for picture purposes. A fair few very heavy books would do the trick.


After about 15 minutes of cooling, it should be safe to remove the box and reshape it for use. It will be a bit stiff on the joints so be careful when folding it out. If you fold carelessly, the middle of the box can bend. Make sure it is completely cool before folding.

If you follow this simple guide, you can pretty much fix any box. You can also use it for excessively squashed boxes to simply reshape them as the heat softens the box slightly and it hardens again when cold.
I have done this umpteen times and as you can see by the result, have removed even the most extraordinary of stickers.


The amount of tape on this may never be matched!

Good luck!

@nakamuramartin

Thursday 9 January 2014

RGB vs Composite comparison.

Being a so called elitist, certain things are essential in video games. One of those is obviously playing games in 60hz, certainly if they are coded that way in the first place. Regular followers on Twitter know how much I bang on about it, probably to their annoyance!

Anyway, another important aspect to me is picture quality, I want the best available. The first step is a CRT of course, no HD television has ever matched up to a CRT. The next step is the connection to the TV and it still staggers me how few people know about the merits of RGB. It's pretty much the best connection you can get to a standard definition CRT. Component is possible but they seem to be very rare, at least in the UK.

Anyway, here are some pictures comparing RGB and composite which is the same as RF/RCA.

Gran Turismo 3. 

Pause menu composite. You can really see the bleeding in the red and the general blurriness of the image.

RGB. Much sharper here. Not as vivid in terms of colour but that is because the colour is in focus. The image is still extremely bright in reality.

Composite far shot. Looks a little better in this far shot but colour is bleeding all over the place. Lines are also very grainy and lacking definition.

RGB far shot. Much better definition and the colours are in the correct places. You can also see the extra detail in the track and the writing on the car. 


WipEout 2097

Orange lines are extremely out of focus which is common with the signal.  
       

RBG shot. Crystal clear text and energy bars. You can see the black outlines too. 


Composite far. The colours of the FEISAR ship are blurry. 


RGB shots. Much less saturation of colour. Clean lines. 


Super Street Fighter II.

Composite. Cammy's stage is ideal to show a 2D game. Lots of colour bleed here. 


RGB. The harsh Northern Lights are much smoother here. Ken's costume is in focus. 


Composite close. You can see the insane colour bleeding again. 

RGB. All of the colours back in place and Ken looks a lot better than before. Better background definition too. 


So there we have it. RGB is hugely superior and vital if you have a CRT. Cables are generally cheap if you don't go official and a good quality scart switcher will also save the socket on your TV.